Farm Currency Fast in Melt Everything With Acid
Best rooms, school vs prison loops, spend order, and when to stop farming.
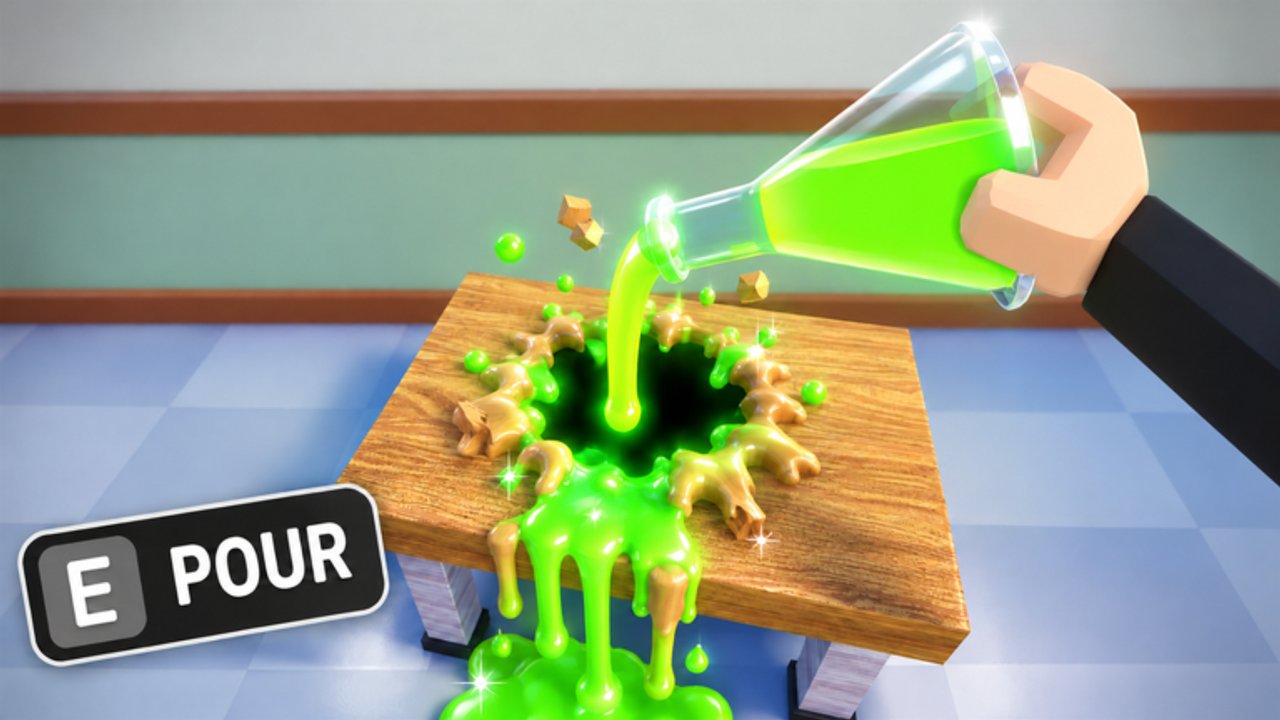
Currency is the throttle on every escape in Melt Everything With Acid. Without a steady farm loop you stall on soft walls, buy the wrong shop nodes, and watch better-geared players open routes while you drip acid on a single desk. This guide focuses on farming cash fast—which rooms pay, when school beats prison, how to spend without wasting runs, AFK risks on 20-player servers, and the exact moment you should stop melting junk and push the exit. Pair it with Getting Started, the upgrade sprayer guide, and the Acid Sprayer Tier List so every coin turns into melt power.
What “currency” buys you
In this incremental Roblox experience, melting props pays out cash (and related shop currencies) that fund:
- Melt power — the single best investment for farm speed
- Weapon tier unlocks — pistol → thrower → bazooka-class tools
- Capacity / tank — fewer dry-outs mid-room
- Range / cone — more props per sweep
- Move speed — late luxury, not early priority
Cosmetics never accelerate a farm. If a code ever drops cash, spend it on power first—there are still no public promo codes as of mid-November 2026, so organic melting remains the only reliable income.
Watch strong tools clear farm rooms
The gameplay below shows melting with thrower, bazooka, and pistol archetypes in this experience. Use it to compare clear speed before you dump a full wallet into a novelty gun.
Best rooms to melt for cash
Not every prop is equal. Prioritize dense grids over lonely decorative objects.
School (Chapter 1) farm rooms
- Classroom desk grids — highest props-per-second when you stand in a corner and sweep. Ideal early farm after Chapter 1 school routes are familiar.
- Locker rows — line melts; great while walking a hallway between classrooms.
- Lab tables — slower individual melts; only farm if your cone already clears desks instantly.
- Skip posters, tiny clutter, and rooms behind optional soft walls once your wallet goal is met.
Prison (Chapter 2) farm rooms
- Cellblock bunk clusters — dense, repeatable, and close together once bars are open.
- Cafeteria / common seating — wide cones shine; S-tier tools melt these faster than school labs.
- Service corridors with stacked crates — good “fill the tank” loops between escape attempts.
- Avoid polishing every decorative pipe after the exit path is known—see Chapter 2 prison.
Rule of thumb: if a room takes longer to enter than to clear, it is a bad farm node for your current gun.
School vs prison farm — which map to grind
| Situation | Prefer |
|---|---|
| Starter or early A-tier pistol/thrower | School classrooms |
| Saving for first big power spike | School desk loops |
| Owning strong A / S-tier wide tools | Prison bunks and commons |
| Practicing soft-wall exits | Short prison pushes, then farm leftovers |
| Full lobby griefing your lane | Hop servers or drop back to quieter school wings |
School is the training economy. Prison is the high ceiling economy once melt power catches up. Players who force prison farms on a weak pistol lose time twice: slow melts and failed escapes. Warm up with a school cash loop, buy the next node from the upgrades path, then commit to prison density.
Spend order while farming
Every farm session should end in the shop with a plan—not vibes.
- Melt power until desks/bunks feel snappy.
- One weapon tier jump toward the A/S tools ranked on the sprayer tier list.
- Capacity if you dry out mid-grid more than once per room.
- Range when you already one-pass desks but miss edge lockers.
- Speed only after clear times are short.
Never equal-spread points across every stat. A balanced weak gun farms slower than an unbalanced strong melt cone. Full rationale lives in Upgrade Your Acid Sprayer.
Efficient farm loop (repeatable)
- Spawn, equip sprayer, confirm tank is full.
- Pick one dense wing (school desks or prison bunks).
- Clear on a circuit—do not zigzag randomly.
- Bank to shop at a natural break (empty tank or full wallet breakpoint).
- Buy the next planned node only.
- Either resume the circuit or pivot to an escape push.
If teammates already stripped your wing, rotate to the next dense cluster instead of arguing in chat. Badges and cash are personal; contested props are normal on 20-player servers (Players Hub).
AFK risks and why “idle farm” fails here
Melt Everything With Acid rewards active spraying, not standing still:
- AFK in a doorway body-blocks exits and invites reports.
- Idle accounts get less value when others clear the lucrative props first.
- Roblox disconnects and server migrations can strand you mid-“macro.”
- Auto-farm scripts break after patches and risk moderation—read Scripts before you even consider them.
Short focused sessions beat eight hours of half-AFK hallway camping. If you must step away, leave the exit hole and soft-wall lanes clear.
When to stop farming and escape
Farming forever is a trap. Stop and push the chapter when:
- Your gun clears the critical soft wall in one focused burst
- You already own the next planned shop node and extra cash is diminishing returns
- The lobby opened a clean route and waiting only risks griefers closing space
- You are chasing the Chapter 1 or Chapter 2 badge more than a cosmetic
Use How to Escape logic: identify the real soft wall, save a full tank, melt a player-sized hole, and leave. Return later for side props if you still need currency for the next upgrade tier.
Badge-minded breakpoints
- Before Chapter 1 badge: farm school desks until an A-tier thrower feels comfortable, then escape (Chapter 1).
- Before Chapter 2 badge: farm until S-tier or strong A-tier wide tools plus stacked melt power, then commit (Chapter 2).
- After both badges: farm only for the next power spike or to test tools—check Updates for economy changes.
Multiplayer farm etiquette
- Call “farming B-wing desks” so others can pick a different lane.
- Do not grief by sealing teammates behind unmelted props on purpose.
- Share discovery of a rich unmarked cluster—helping the lobby often opens your own path sooner.
- Ignore chat “secret codes”; verify on Codes (still empty for public promos).
Measuring farm success
You are farming well when:
- Cash per minute rises after each power purchase
- Room clear time drops week over week
- You hit escape attempts without emergency shop panic
- You are not rebuying lateral C-tier weapons
If cash per minute is flat, your bottleneck is melt power or weapon tier—not “more random props.” Reopen the tier lists and this spend order.
Related pages
Farm with a circuit, spend with a list, and escape when the wall—not your boredom—says you are ready.
Frequently Asked Questions
Quick answers to the most common questions.
Where should I farm currency as a beginner?
School classroom desk grids. They are dense, close together, and match early thrower upgrades better than prison density.
When is prison better for farming than school?
After you own strong A-tier or S-tier wide tools and solid melt power. Weak pistols waste time on bars and bunks.
What should I buy first with farmed cash?
Melt power, then a ranked weapon tier jump. Capacity and range come next; speed and cosmetics wait.
Is AFK farming worth it?
No. Props favor active spraying, AFK blocking angers lobbies, and scripts risk your account. Use short focused circuits instead.
When should I stop farming and escape?
When your sprayer can open the critical soft wall in one focused burst and the next shop node is already purchased or unnecessary.